
Crispy Roasted Chickpeas
This post may include affiliate links. Thank you for your support.
These oven roasted chickpeas are crispy, flavorful and easy to make with only 5 pantry staple ingredients. It’s a healthy, high-protein snack you’ll want to keep on repeat!
One day I decided to make oven roasted chickpeas as a snack for myself and the kiddos, and they turned out so crispy and delicious I just had to share!
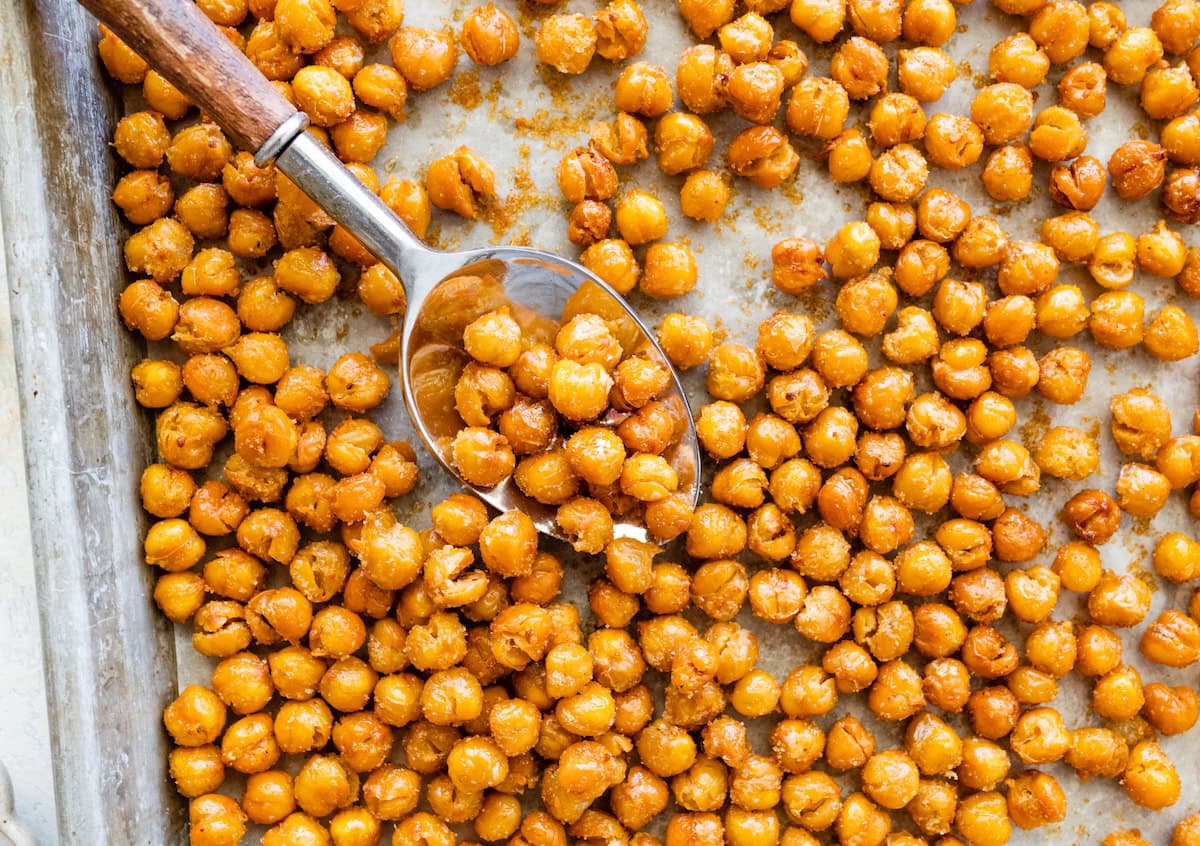
Table of Contents
Why I Love These Roasted Chickpeas

- Crispy and satisfying: These roasted chickpeas come out perfectly crunchy every time.
- Simple ingredients: You only need one can of chickpeas, oil and a few seasonings.
- High in protein: This is a healthy snack that actually keeps you full and energized.
- Kid-approved: Olivia and Tucker love munching on them just as much as I do!
- Versatile: Snack on them plain, or add to salads and bowls for extra crunch!
Ingredients Needed
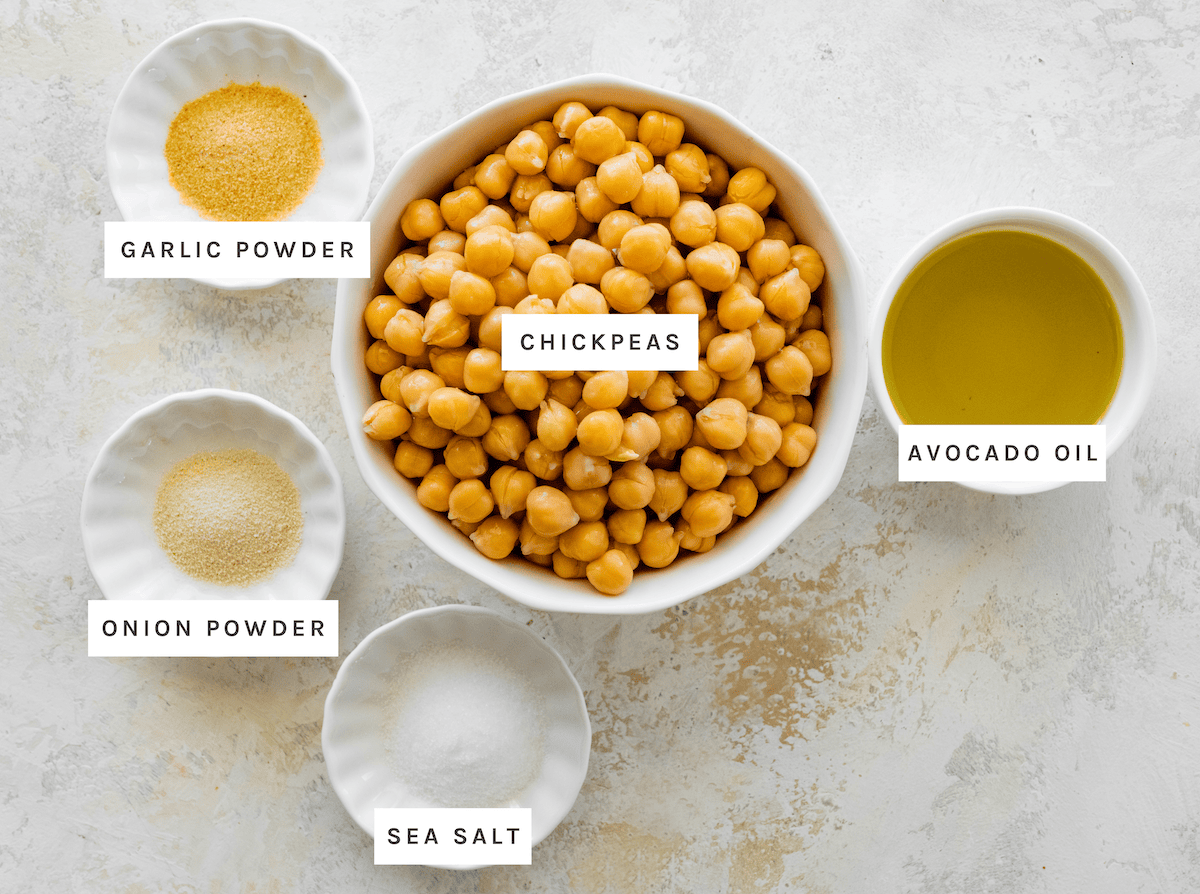
- chickpeas – one 15-ounce can, drained and rinsed. Canned chickpeas make this recipe super quick, but you can also use cooked-from-dry if you prefer.
- olive oil or avocado oil – just a touch helps the seasonings stick and gives that perfect golden crisp.
- sea salt – brings out all the flavor and adds that salty crunch factor.
- garlic and onion powder – a flavorful combo that gives these chickpeas a savory, snack-worthy flavor.
Recipe Variations
The best part about roasted chickpeas is how easy they are to customize! Once you’ve got the basic method down, try switching up the seasonings. The options are endless, but some of my favorite combos are:
- Spicy: Add chili powder, cayenne or smoked paprika for heat.
- Sweet: Toss with a little cinnamon and coconut sugar for a crunchy sweet snack.
- Everything bagel: Sprinkle with everything bagel seasoning for a savory twist.
- Zesty: Add lemon zest and a pinch of cumin for a bright, tangy flavor.
How to Make Roasted Chickpeas
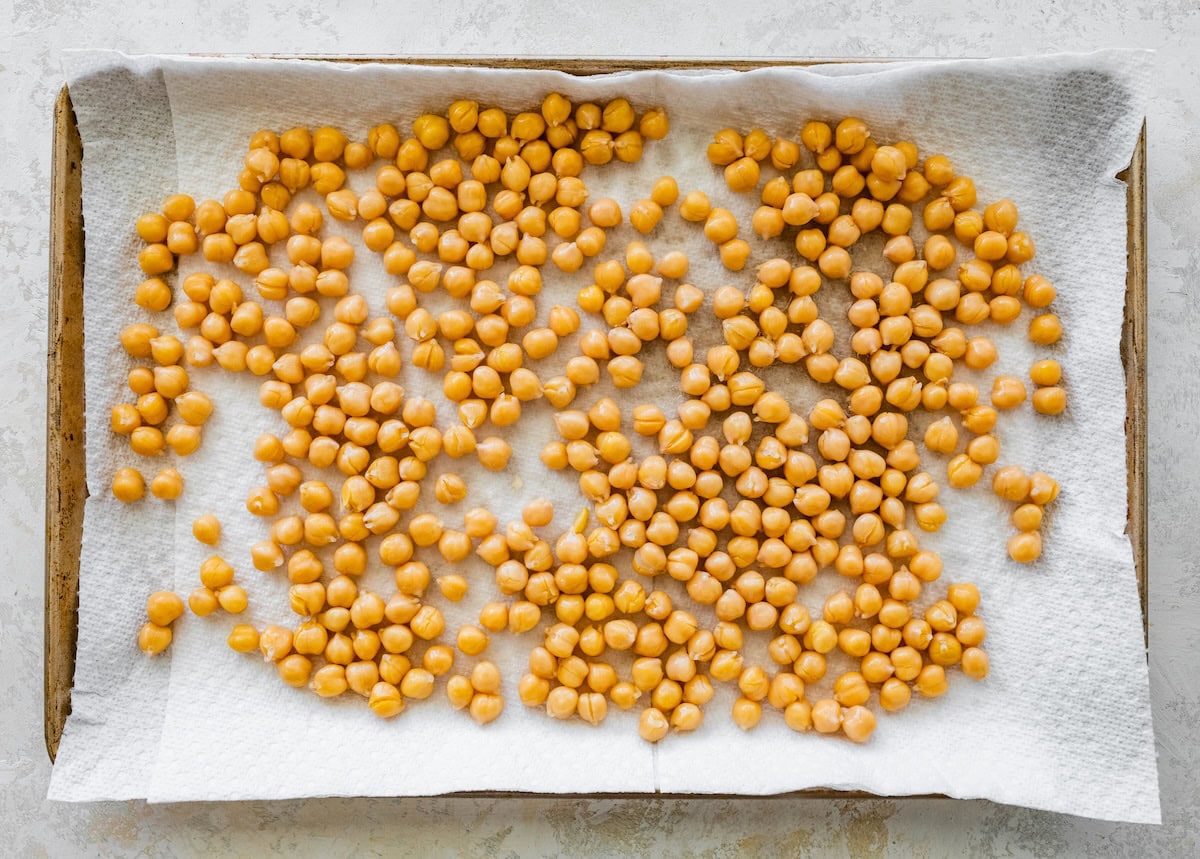
Step 1: Drain and rinse your chickpeas, then pat them dry really well using a clean kitchen towel or paper towels.
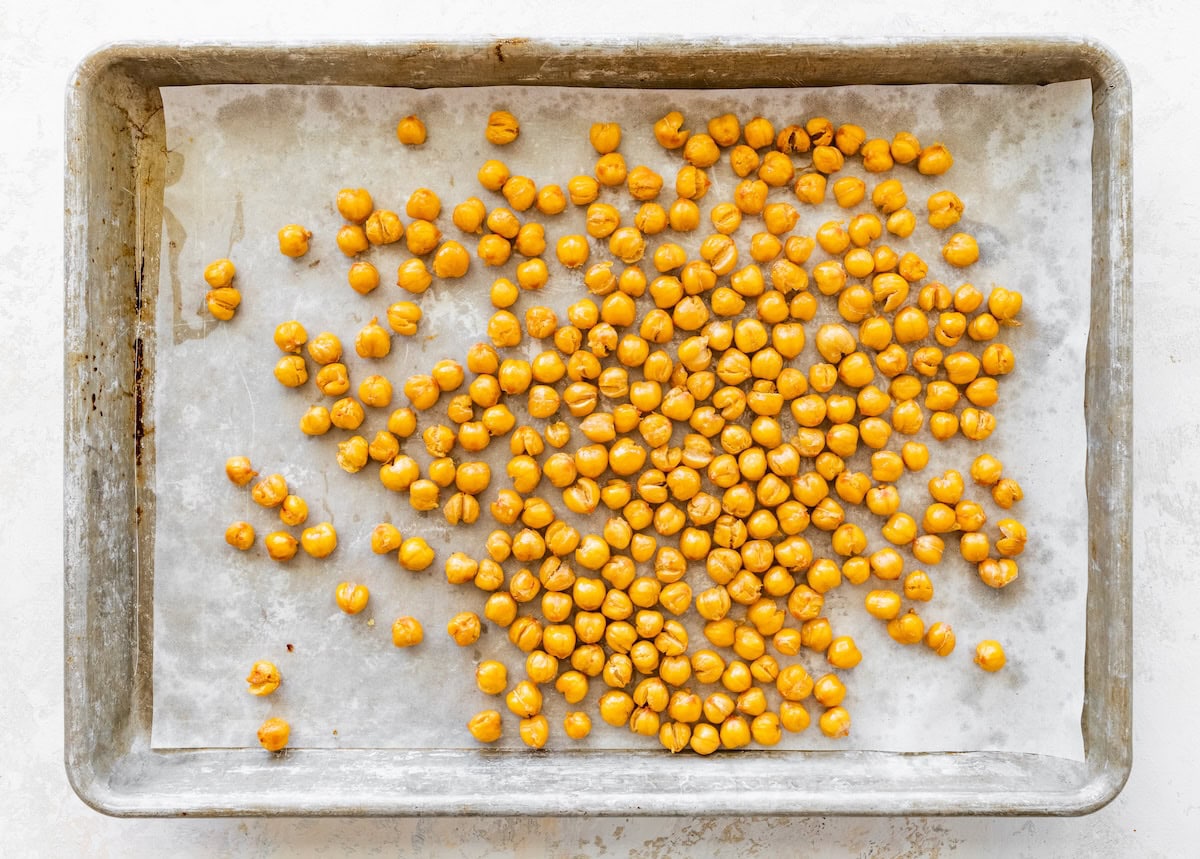
Step 2: Spread the chickpeas out on a baking sheet in a single layer and pop them in a 425°F oven. Roast for about 25 minutes, shaking the pan halfway through so they cook evenly.
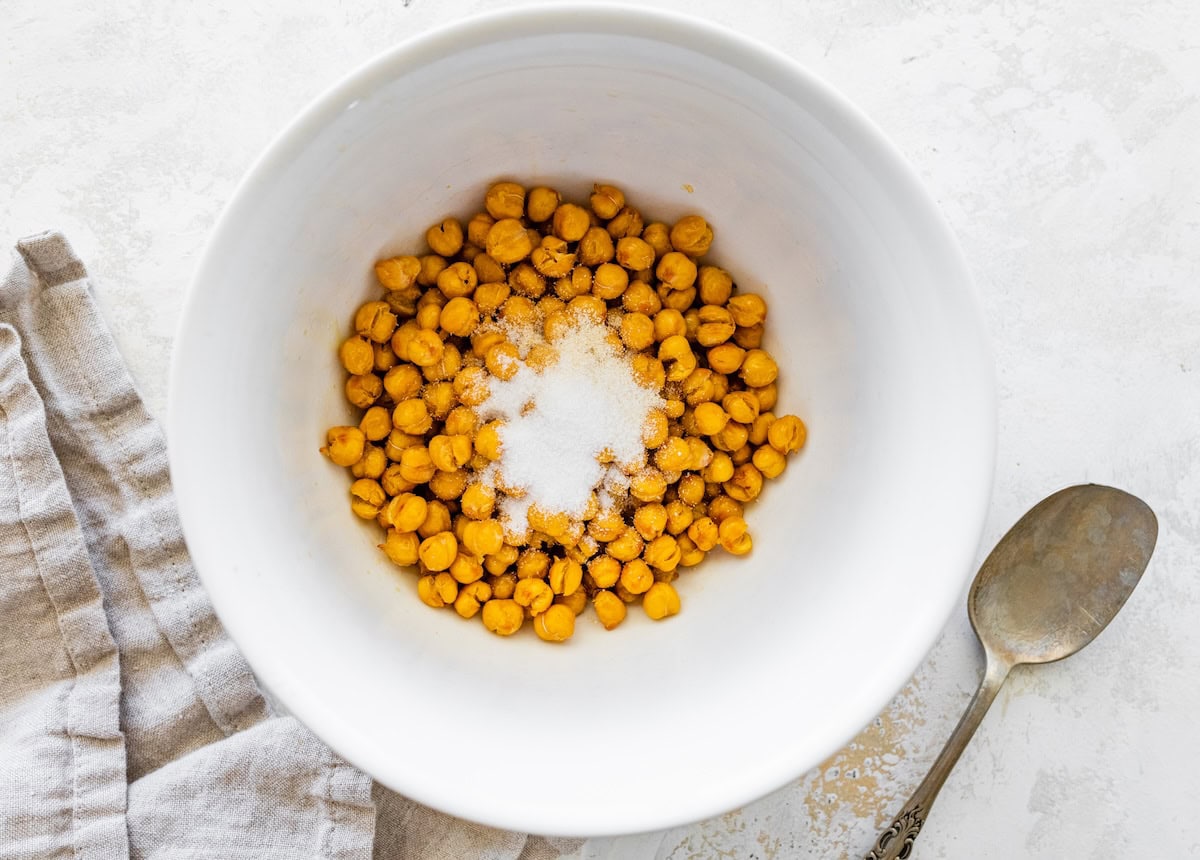
Step 3: Transfer the chickpeas to a bowl, drizzle with olive or avocado oil, and toss with your seasonings until evenly coated.
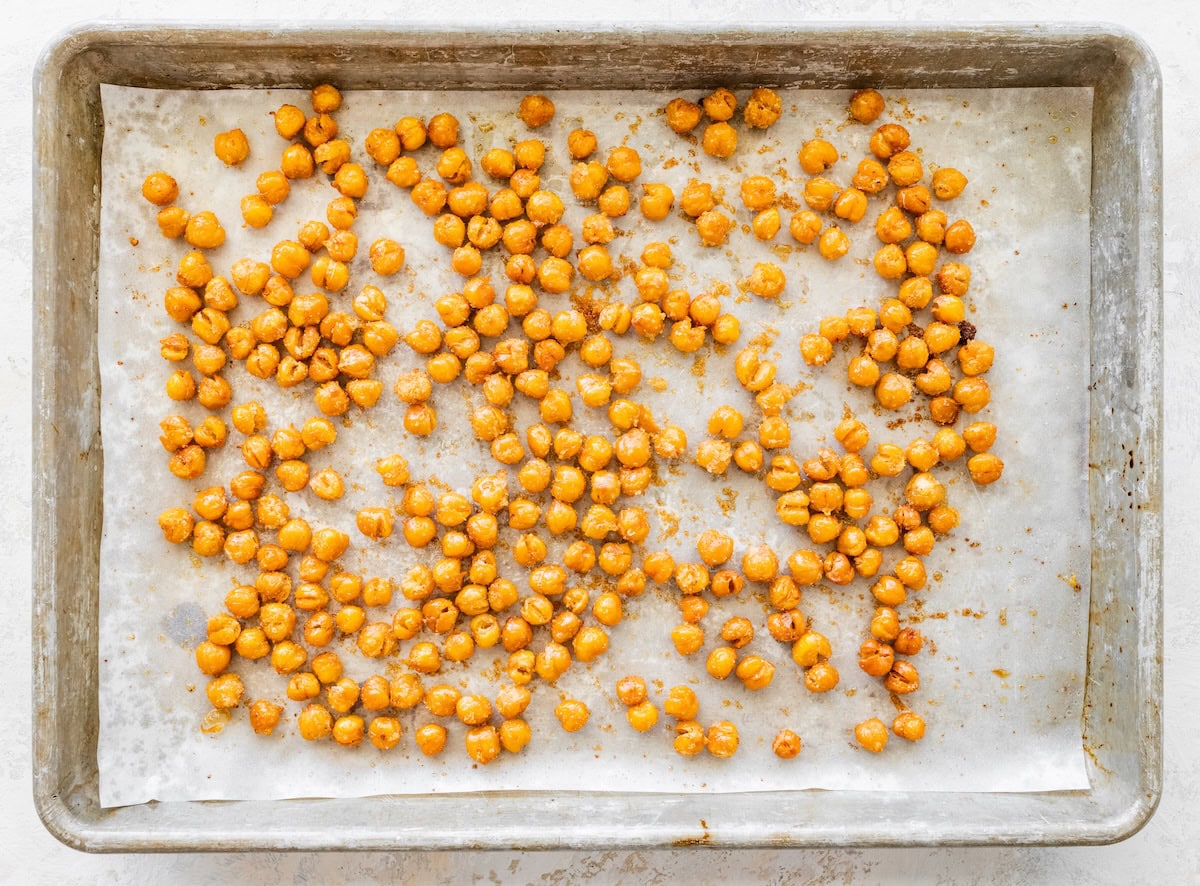
Step 4: Return the chickpeas to the baking sheet and roast for another 5–10 minutes, until golden and crunchy! Enjoy or store for later use.
Tips for Perfectly Crispy Roasted Chickpeas
- Dry them really well before roasting: Any moisture left on the chickpeas will cause them to steam instead of crisp, so take the extra minute to pat them dry. The drier they are, the crispier they’ll get!
- Roast without oil first. Starting with a dry roast helps remove extra moisture and gives you that perfectly crunchy texture.
- Don’t overcrowd the pan. Make sure the chickpeas are in a single layer with a little space between them so they roast evenly.
- Let them cool completely on the pan: They’ll crisp up even more as they cool!
- Adjust the seasoning after roasting. Some spices can burn, so it’s best to toss them on after the first roast for maximum flavor and crunch.
How to Store Roasted Chickpeas
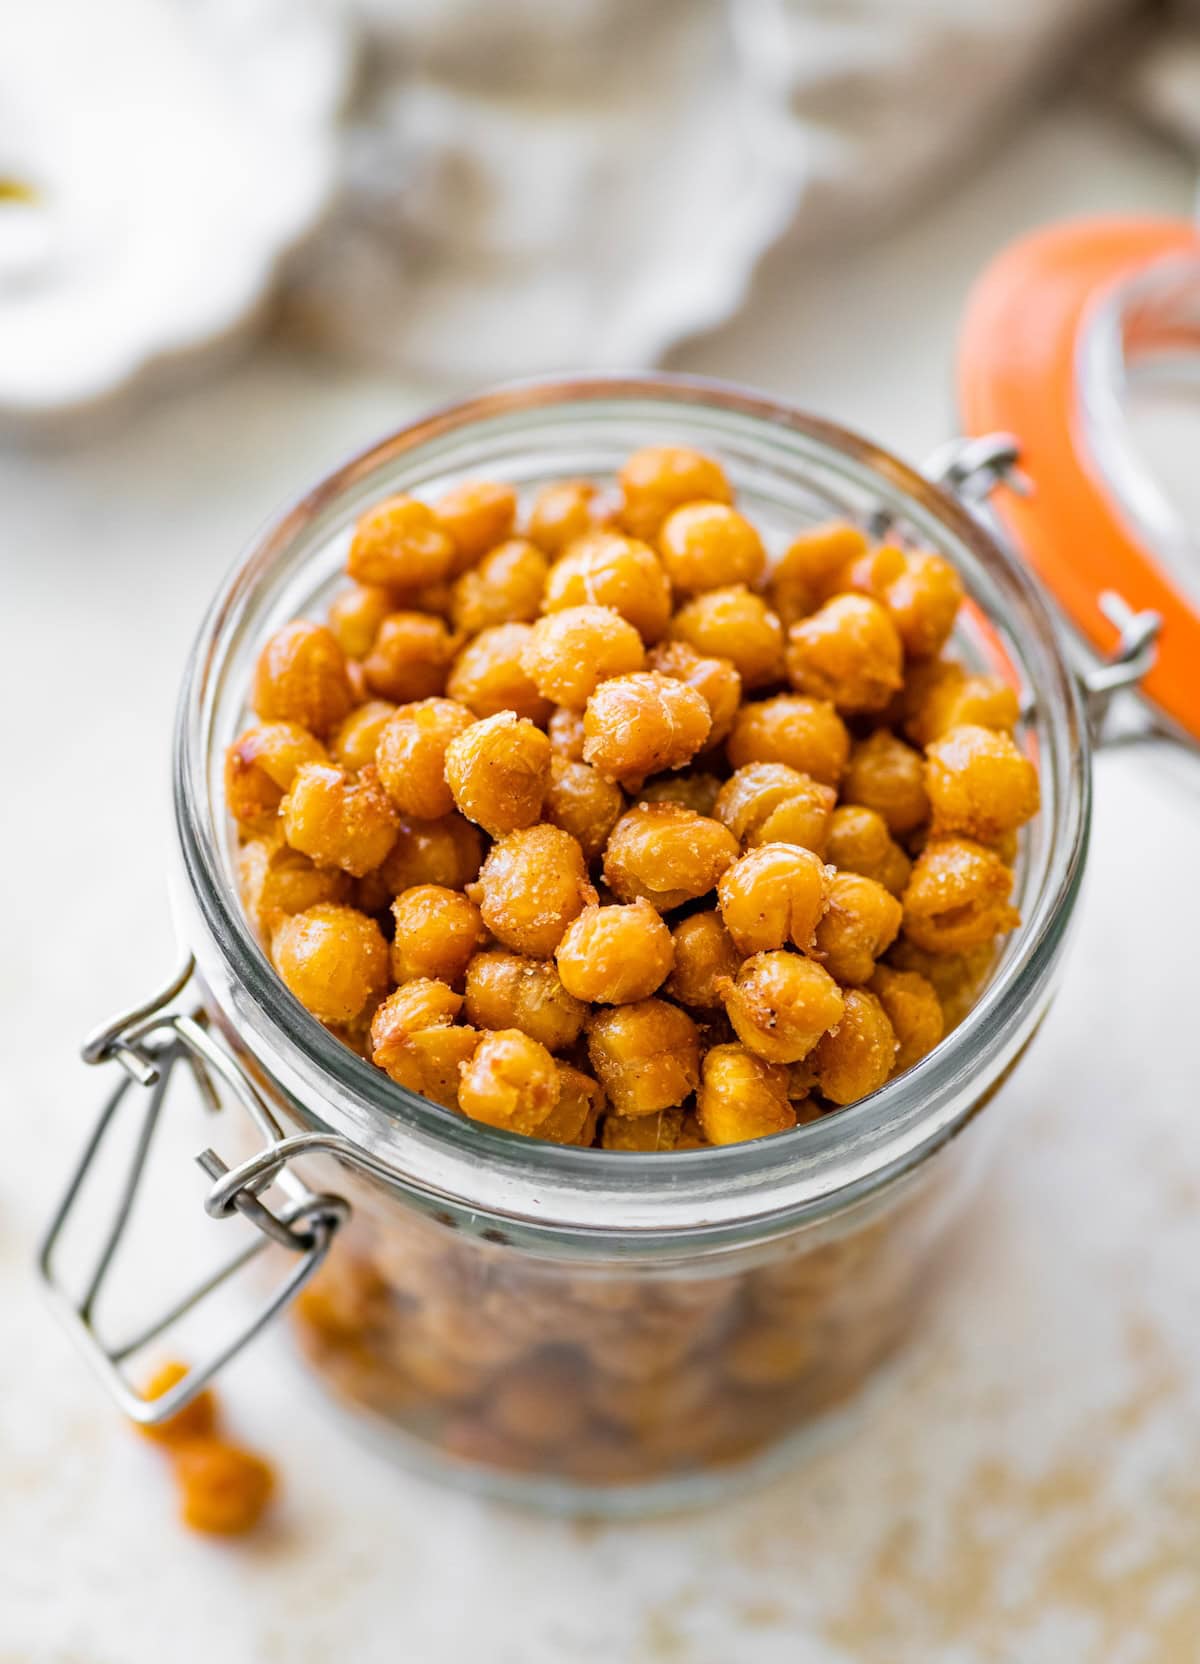
Let the chickpeas cool completely before storing. This step is key to keeping them crispy. Once cool, transfer them to a glass jar or an airtight container, but avoid sealing it too tightly for the first day to prevent moisture buildup. After that, you can cover them loosely.
They’ll stay crunchy at room temperature for about 3 to 4 days. If they start to soften, pop them back in the oven at 400°F for 5 to 10 minutes to crisp them back up.
I don’t recommend refrigerating or freezing roasted chickpeas since that tends to make them chewy instead of crunchy.
Frequently Asked Questions
Yes! You can use dried chickpeas that have been cooked until tender. You’ll need about 1 ½ cups of cooked chickpeas for this recipe. Just make sure they’re completely dry before roasting to help them get nice and crispy.
If your chickpeas turned out soft instead of crunchy, it’s usually because they still had a little moisture on them before roasting. Make sure to dry them really well and don’t overcrowd the baking sheet. Also, let them cool completely after roasting. They’ll crisp up even more as they cool.
Yes! I actually have a full air fryer chickpeas recipe on the blog. The air fryer version cooks even faster and gets super crispy. If you have an air fryer, definitely check it out for a quick and easy snack.
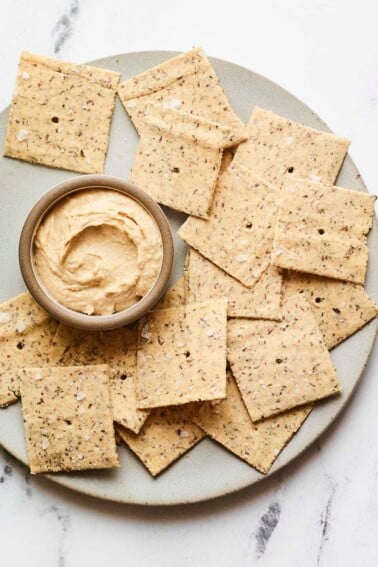
They’re great on their own for snacking, but you can also sprinkle them on salads like my massaged kale salad, grain bowls (try this mediterranean quinoa bowl) or soups like this cauliflower soup for extra crunch and plant-based protein. They add the perfect salty bite and texture boost to just about anything.
More Savory Snacks

If you enjoyed this recipe, please consider leaving a ⭐ star rating and let me know how it went in the 📝 comments below.

Crispy Roasted Chickpeas
Ingredients
- 1 15 oz can chickpeas, drained and rinsed
- 2 teaspoons olive oil or avocado oil
- ¼ teaspoon sea salt
- ¼ teaspoon garlic powder
- ¼ teaspoon onion powder
Instructions
- Preheat oven to 425°F. Line a rimmed baking sheet with parchment paper or leave unlined for extra crispness.
- After rinsing, spread the chickpeas on a clean kitchen towel or paper towels and pat dry. For best results, let them air dry for a few minutes too. Remove any loose skins if you’d like (optional).
- Spread chickpeas on the baking sheet (without oil or seasonings) in a single layer and roast for 25 minutes, shaking the pan halfway through.
- Remove the chickpeas from the oven, place them in a bowl, and toss with the oil and any spices you’re using.
- Return seasoned chickpeas to the pan and roast for another 5–10 minutes, until golden and crispy.
- Let chickpeas cool on the pan. They’ll crisp up even more as they cool.
- Enjoy them as a snack, or add them to salads, bowls, and soups for a crunchy, protein-packed topping.
Notes
- Storage: Let chickpeas cool completely before storing. Keep them in a glass jar or container at room temperature for 3 to 4 days. If they lose their crunch, reheat in the oven at 400°F for 5 to 10 minutes.
- Seasonings: Feel free to use any spices you like. Try smoked paprika, chili powder, cumin, curry powder, or everything bagel seasoning for a fun twist.
- Make it in the air fryer: Want to speed things up? Check out my air fryer chickpeas recipe for a quicker version that turns out just as crispy.
Nutrition
Nutrition information is automatically calculated, so should only be used as an approximation.
Like This Recipe? Rate & Comment Below!


I used a hair dryer on low heat, worked great. real tasty.